Official Paragons Rulebook
Standard Game Mode (SGM)
Tournament Style Draft
The Standard Game Mode is the intended way to experience Paragons, and the game is tuned around this format. What sets Paragons apart from many traditional TCGs is that your deck's identity is shaped largely by the decisions you make during the Draft Phase, which depend not just on how strong your cards are on their own, but also on what you can read about your opponent and how they like to play.
The SGM is built for competitive 1v1, though 3-for-all games are perfectly fine too. Keep reading to learn how Paragons is meant to be played.
This format suits experienced TCG or Paragons players, as well as tabletop gamers who don't mind investing the effort to learn a deeper ruleset. To make things easier, a pre-constructed variant is provided at the end of this rulebook so you can practice the Game Phase without drafting first.
Choose Your Paragon

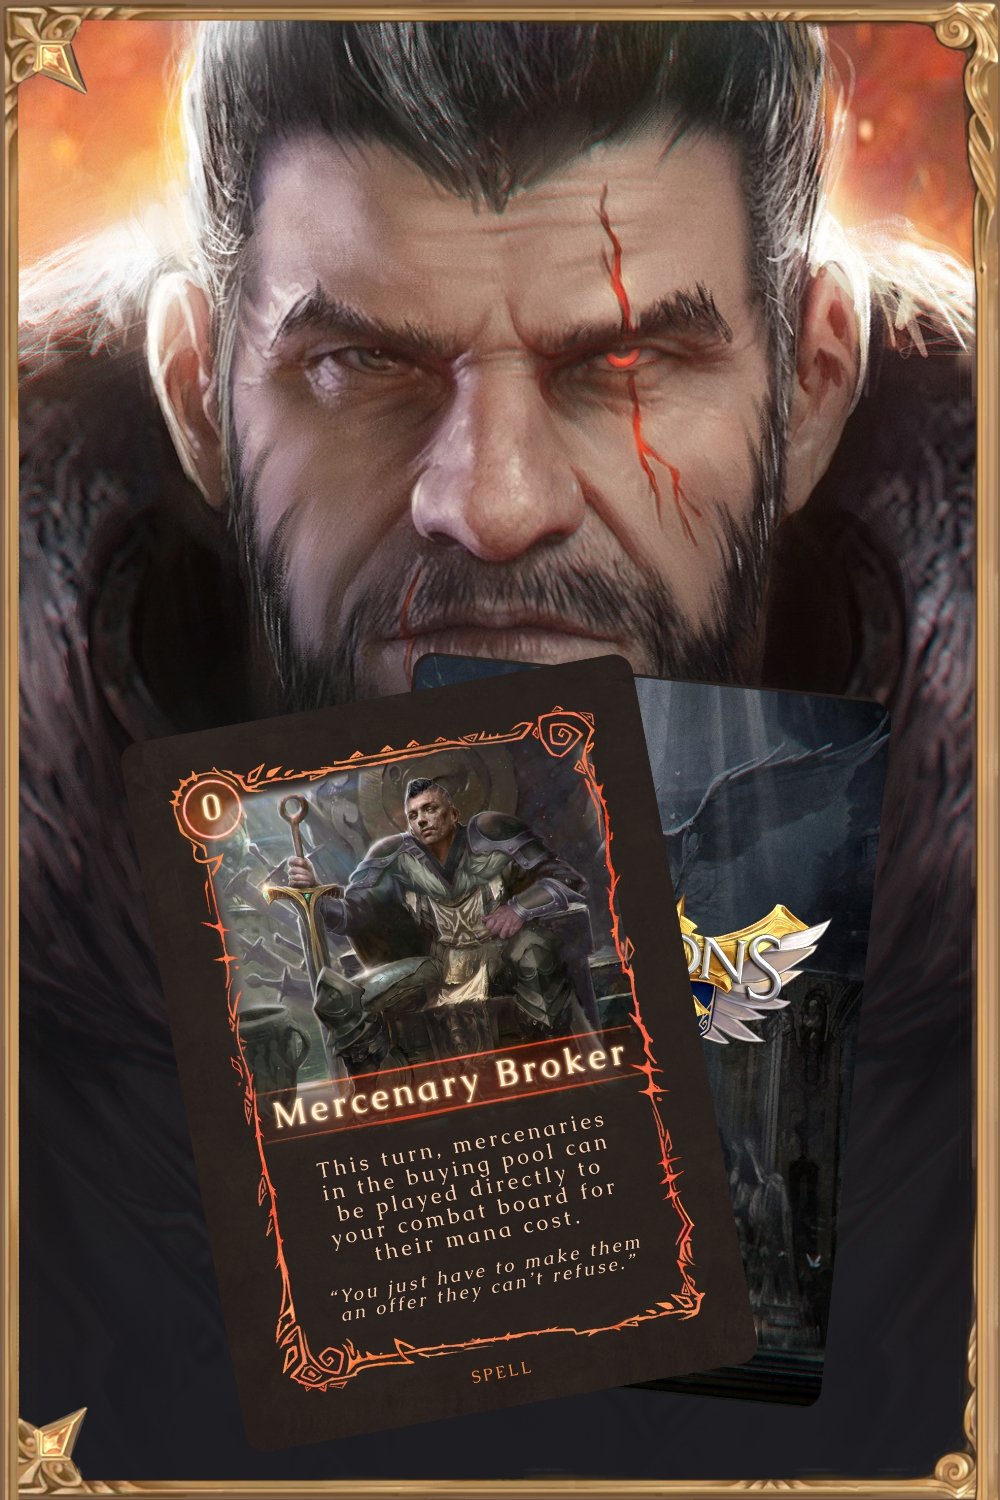
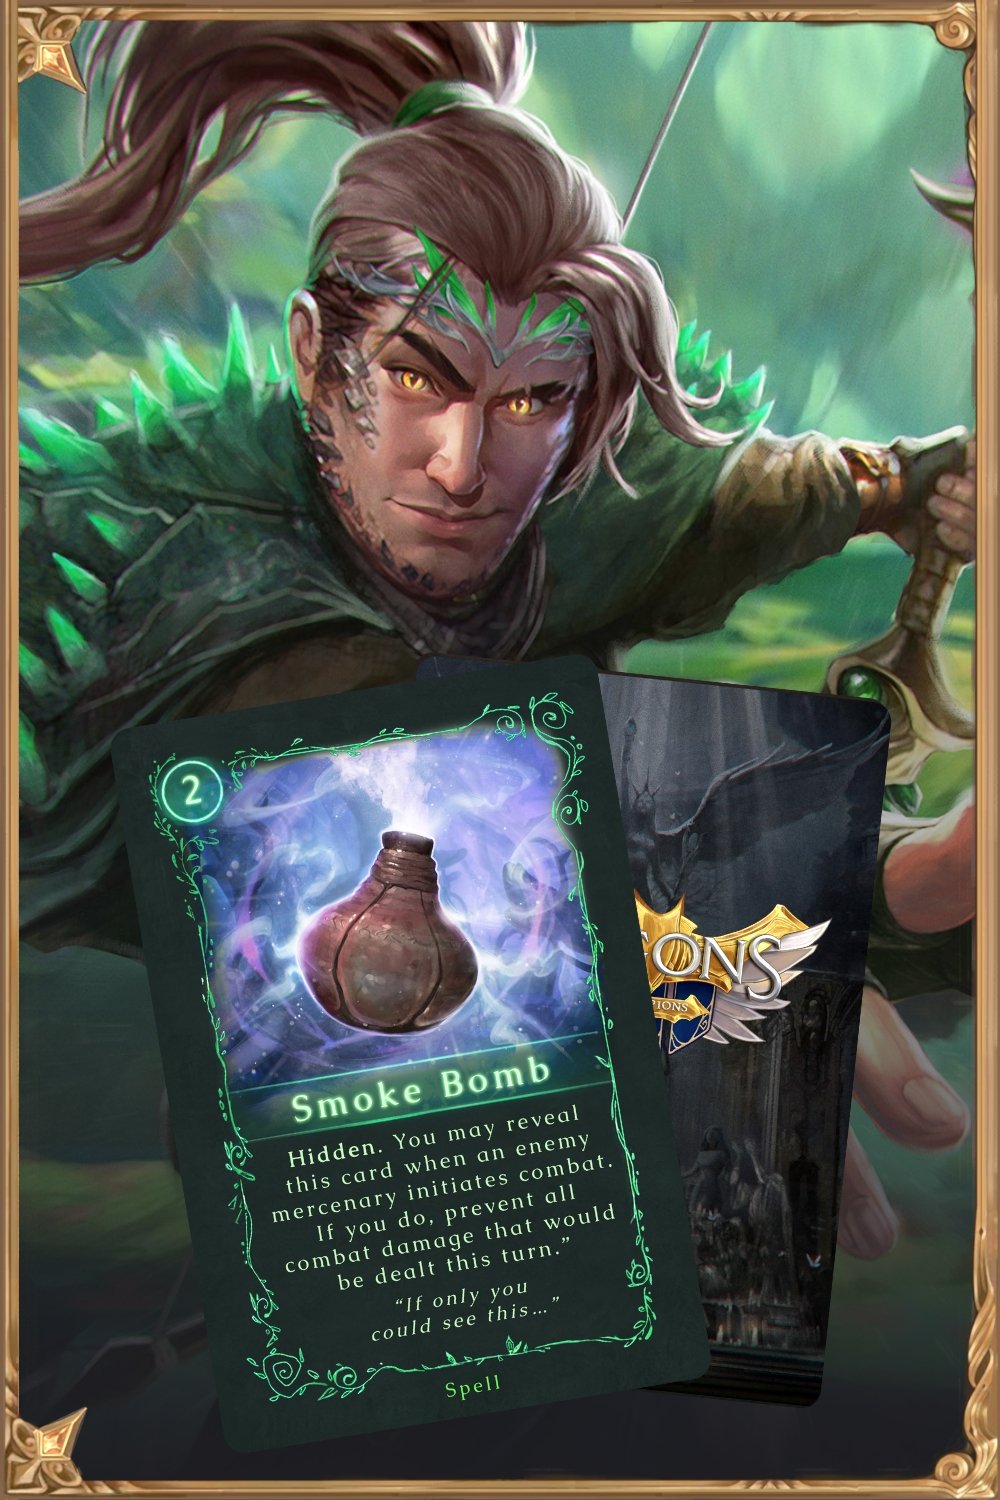
To start a game of Paragons, every player picks a Paragon class: the Warrior (Red), the Mage (Blue), or the Ranger (Green). Grab the full set of class cards that matches your pick and keep them aside for the moment.
Should two or more players want the same Paragon class, settle it with Rock, Paper, Scissors (and feel free to play it even when everyone has chosen different classes).
Once classes are settled, play moves into the Draft Phase, where players draft cards from a shared pool of Neutral Mercenaries for their decks.
A few things to keep in mind as background:
Mercenaries are soldiers you pay mana to place onto your Combat Board, where they fight for you.
Your Combat Board is a 4x2 grid where your mercenaries are placed: two Rows (a front row and a back row), each four spaces wide. You can also think of it as four Columns of two spaces each, numbered first through fourth from left to right.
Neutral cards belong to no particular class. You obtain them either by drafting them in the Draft Phase or by Recruiting them from the Buying Pool during the Game Phase, which starts once the Draft Phase is finished.
Draft Phase
The Drafting Order is always Ranger first → then Mage → then Warrior.
The Draft Phase has 3 steps: draft the Greater Mercenaries, then draft the Lesser Mercenaries, and finally build your deck.
Step One: Greater Mercenary Draft
Greater Mercenaries cost 5, 6, or 7 mana to play. In their neutral form they carry a faint gold tint and are marked as such along the bottom of the card.
2 Player game: Shuffle the Greater Mercenary cards and lay out 14 of them. Players then take turns picking cards until none remain, following the draft order given at the top of the Draft Phase section.
3 Player game: For the more casual 3-for-all format, lay out 18 cards instead.
Gather every Greater Mercenary that wasn't drafted into its own pile, the Neutral Mercenary Deck, which you'll use during the Game Phase.
Step Two: Lesser Mercenary Draft
Lesser Mercenaries cost 4 mana or less to play. In their neutral form they have a darker, charcoal tint and are marked as such along the bottom of the card.
2 Player game: Lay out 18 Lesser Mercenaries for each of the two rounds of the Lesser Mercenary Draft.
3 Player game: Lay out 14 Lesser Mercenaries for each of the three rounds of the Lesser Mercenary Draft.
In every round, players take turns picking until all cards are gone, following the draft order given at the top of the Draft Phase section.
Mix every undrafted Lesser Mercenary into the Neutral Mercenary Deck for use in the Game Phase.
Step Three: Assemble Your Deck
In 1v1, each player ends up with 7 Greater Mercenaries, 18 Lesser Mercenaries, and 30 class cards, totaling 55 cards. From those, build a deck of exactly 30 cards of your choosing to take on your opponent.
In a 3-for-all, each player ends up with 6 Greater Mercenaries, 14 Lesser Mercenaries, and 30 class cards, totaling 50 cards. From those, build a deck of 30 cards of your choosing to outlast the other two players.
Either way, every card left out of your deck becomes your Reserve Pile. The Reserve Pile comes up again in the "concluding a game" section, but that's all you need for now.
Once every player has built their deck, the Game Phase can begin :)
Game Phase
Setting up the playing field
Each player owns a Combat Board that holds up to 8 mercenaries arranged 2 deep and 4 across (its Rows and Columns). The row furthest from you is the Front Line, and the row closest to you is the Back Line.
While in the Game Phase, any card you play with the Hidden keyword goes into a 'Hidden Pile' kept apart from your Combat Board. You may view your own Hidden cards whenever you wish, but never your opponent's.
In the shared play area, a D10 or a mana counter is handy for tracking each round's Mana Threshold. The Mana Threshold is the pool of mana you begin your turn with and may spend however you like before your next turn.
Also place the Neutral Mercenary Deck in the shared area and flip its top 5 cards face up, Texas Hold'em style. This is the Mercenary Pool, a shop where players can Recruit fresh mercenaries for a cost. The Mercenary Pool sits within a broader region of the play space called the Buying Pool (a distinction that may matter in later expansions).
Whenever a mercenary is Recruited from the Buying Pool during play, refill its slot with the top card of the Neutral Mercenary Deck.
Starting play
Each player begins with 20 Life, tracked however you prefer; a D20 works well. However you track it, your life should stay visible to everyone at all times, and a Life Total can never climb above 20.
To begin, every player draws the top 5 cards of their deck. Each player may Mulligan a single time: set aside any number of cards from hand, draw back up to 5, then shuffle the set-aside cards back into the deck.
Then play begins!
The play order is always Warrior → then Mage → then Ranger.
Beginning Your Turn
When your turn begins, draw until you hold 5 cards; if you already hold 5 or more, draw just 1 instead. You always draw at least 1 card, and there is no maximum hand size.
Mana is the resource used to play cards. It is a value from 1 to 10 tied to the current round (1 mana in round 1, 2 in round 2, and so on through round 10, where it caps at 10). This value is the Mana Threshold.
The mana available to you at any point can never exceed the number of rounds that have begun, which is why it's a 'threshold' you cannot surpass. The mana you actually have on hand is your Mana Total, and it carries through your opponents' turns until your next turn starts.
Keep in mind that spent mana cannot be refunded, even if a card later nullifies an effect or stops something from entering play.
Turns happen one after another, and a full cycle of turns is called the Round (Round 1 is the round where the Mana Threshold equals 1, and so on). A Round therefore opens with the Warrior, continues with the Mage, and closes with the Ranger.
Options During Your Turn (and during your opponents’)
In broad terms, Paragons offers five kinds of Voluntary Actions:
1- You may play mercenary cards at any point on your turn. Unless a card says otherwise, a mercenary can go to any space on the Combat Board. If the chosen space already holds a mercenary, that occupant may be "bumped" into any unoccupied Surrounding space (left, right, up, or down).
Mercenaries normally arrive on the Board right away, unless a spell played in response specifically states otherwise (for example, "When a mercenary would come into play, do ____ instead.").
Unless a card explicitly allows it, a mercenary cannot attack or use Voluntary Abilities on the turn it enters play. Voluntary Abilities are mercenary abilities that only happen if the player chooses to trigger them. Abilities that apply no matter what you do are Passive Abilities and take effect right away.
2- You may start a Combat at any point on your turn by declaring an attack. Attacks are made one mercenary at a time, and damage resolves afterward. A mercenary may only attack once per turn unless a card explicitly states otherwise. When attacking, you choose whether to strike the enemy player directly or to hit any valid mercenary on their Combat Board.
If you attack a player directly, that player may Defend using any one of their unexhausted mercenaries. A Defending mercenary swaps attack power and health with the attacker (the figures on the bottom left and bottom right of the card, respectively). If the player declines to Defend, they subtract the attacker's full attack power from their Life Total.
If you instead attack a mercenary, your valid targets are: any Frontline mercenary on the enemy Combat Board (as described at the start of the Game Phase section), or any 'exposed' Backline mercenary, meaning one with no allied mercenary in the Front Line of its column.
The defending player may then choose to Defend with any unexhausted Adjacent mercenary. Adjacent mercenaries are those immediately to the left or right of the one being attacked. If the player declines to Defend, the attacker and its target swap attack power and health just as described above.
A mercenary that survives combat stays damaged until the start of the next player's turn, when its health resets to full. If a mercenary's health drops to zero or lower, it is Destroyed. Destroyed cards go to the discard pile of the player who played them (so a card you played onto your opponent's board still returns to your own discard pile when destroyed).
Attacking makes a mercenary Exhausted, shown by turning the card 90 degrees. An Exhausted mercenary cannot attack, defend, or use Voluntary Abilities that require Exhausting it. Exhausted mercenaries Recover at the start of their controller's turn, becoming unexhausted.
Defending is a special kind of Voluntary Action that can only happen in response to a declared attack.
You may start more than one Combat in a single turn. A Combat ends once a player plays a mercenary or spell that isn't part of that Combat.
3- You may use a Mercenary's Voluntary Ability at any point on your turn unless the card states otherwise. Cards that allow their activated abilities to be used on enemy turns and/or the turn they're played always include the word 'anytime' in the ability text.
4- You may Recruit Lesser Mercenaries from the Buy Pool for 2 mana, or Greater Mercenaries for 3 mana, at any point on your turn. To Recruit, take the card from the Buy Pool into your hand.
5- You may play Spells at any point on your own or your opponents' turns, as long as you have the mana for them.
Advanced Notes on Voluntary Actions
Notes on Order of Operations
Any time a player takes a Voluntary Action, the opponent may React with any of their own permitted Voluntary Actions. This works both ways, and the guiding rule is that the last thing added to the card/action chain resolves first. Once neither player wants to add anything more, the chain resolves in the order described above.
If resolving the chain makes a later action no longer legal, control passes back to the player who took that action so they can make a different legal choice with the same card or action if one exists. If no legal choice remains, that action is rescinded.
Notes on Card Activity Besides Voluntary Actions
Special cases regarding the Beginning and Ending of turns-
The draw at the Beginning of your turn is not a Voluntary Action. Voluntary Actions are only available to you after a turn has Begun and before it Ends (obvious as that sounds, it matters for competitive players mapping out the exact limits of card abilities).
The key takeaway is that abilities which trigger at the beginning or end of a turn are not 'Voluntary' under the game's rules, even when they involve a choice. It also means abilities worded this way never open the door for enemy players to React.
Notes on Mercenary Types (Melee, Ranged, Caster)
Every mercenary has a combat type, shown in the bottom left corner of the card alongside its attack power.
A Sword means the mercenary is a Melee-type. A Melee mercenary cannot attack from the Backline while an allied mercenary stands directly in front of it (it's tough to swing a sword with a friend in the way!).
An Arrow means the mercenary is a Ranged-type. Ranged mercenaries are free of the Melee restriction. The only other difference is that Ranged mercenaries carry a built-in ability: "when this card is dealt damage by a caster-type mercenary's casting ability, it deals damage back equal to its attack power (as though in combat)."
A Staff means the mercenary is a Caster-type. A Caster has every trait of a Ranged mercenary plus its own ability: "Exhaust this card anytime on your turn to deal X damage to a mercenary, where X is this card's Base Attack Power Stat."
A Caster cannot use this ability on a turn it attacks, and it cannot attack on a turn it uses this ability, even if it somehow becomes unexhausted.
Note: A mercenary's Base Stats are the numbers physically printed on the card for its attack power and health. Buffs and other stat changes are temporary, but Base Stats are forever <3
Notes on Spell Types
Spells are usually single-use, non-mercenary cards labeled as such at the bottom of the card. You can play them from your hand or reveal them from your Hidden cards at any time once their reveal conditions are met. A spell is played, takes effect, and then is generally Destroyed once it resolves.
Some spells, called Imbuements, attach permanently to a mercenary and grant effects described on the spell. An Imbuement shares the fate of the mercenary it's attached to, becoming Destroyed if that mercenary is Bounced, Destroyed, or Banished.
Enchantment spells work like Imbuements but attach to a space on the Combat Board rather than to the mercenary in it. Once successfully played onto a space, an Enchantment stays there for the rest of the game unless a new Enchantment replaces it, which Destroys the old one (a space can only hold one Enchantment at a time).
One last note: some cards copy or duplicate your spells. These copied 'cards' are removed from the game entirely once they resolve and never go to your Discard or Reserve Pile.
Concluding the Game
A player loses if their Life Total falls to 0 or below, if they must draw from their deck but cannot, or if at any point they display remarkably poor sportsmanship (yes, really). Keep it classy, folks.
Paragons is built to be played 'best of 3' in a tournament-style, TCG-like fashion. After losing a game, that player may swap any cards from their Reserve Pile (defined in the 'Assemble Your Deck' section) into their deck to turn things around, now armed with more knowledge of the opponent's strategy. If they do, the rebuilt deck must end up at exactly 30 cards.
The 'best of 3' format isn't required, and the card balance should still make 'best of 1' fun and reasonably competitive for players short on time. For the best experience, though, we recommend 'best of 3' as the most competitive, balanced, and enjoyable way to play. If you're pressed for time, consider saving the constructed decks for your next session.
The game is also finely tuned for 1-on-1. Three-for-alls are a blast and make for a real slugfest, but the most balanced results come from 1-on-1 in a Bo3 format. As a social experience, however, little beats a casual 3-for-all on game night with friends.
For bigger gatherings, we suggest one Paragons set per pair of players so you can run a Round Robin-style tournament.
Difficulty and Advice
Playtesters keep telling us the same thing: Paragons is 'fairly easy to learn, very hard to master'. To help you along that path, here are a few pointers for your earliest games.
The Mage is the easiest class to pick up. Its direct-damage spells and straightforward buff/debuff effects have a very high value floor, backed by a small but potent set of Mercenary Pool tools that amplify the class's lethality. The Mage is currently believed to hold a slight edge over the Ranger.
The Warrior sits at medium difficulty. It doesn't behave the way veterans of other TCGs and RPGs might assume, because its core mechanic is recruitment rather than buffing, with buffs being more of a bonus on top. Squeezing maximum value out of recruitment takes practice, but once mastered it can be overwhelming for opponents to keep up with. The Warrior is currently believed to hold a slight edge over the Mage.
The Ranger is the hardest class. Many of its cards are clearly solid, even if individually they can feel weaker than other classes' cards. Its real strength lies in chaining Hidden cards and combo effects, and orchestrating those pieces into a win demands patience, foresight, and planning. The Ranger is currently believed to hold a slight edge over the Warrior.
Your deck's mana curve (the balance of cheap to expensive cards) and a mercenary's mana-to-base-stats ratio matter even more in Paragons than in most TCGs. Combat is unforgiving, so plan to seize at least some control early, roughly within the first 4-7 turns depending on how play unfolds, or stronger players will run you over.
Paragons has more in common with Chess than with a typical TCG; its strategy runs deeper, and beyond the obvious good and bad plays there are frequently great, even brilliant, options hidden in the board state. Take the time to spot them. The reverse holds too, and 'just one' slip can snowball into disaster against a sharp opponent. Stay sharp!
Once the game is rolling, you'll face plenty of decisions. Make a habit of scanning the Buying Pool, weighing Hidden cards, and tracking how your opponent draws and spends mana. Pay particular attention to which mercenaries your opponents draft, since that reveals the range of plays they have available. Doing all this opens up new paths to victory and steers you clear of traps that are otherwise easy to fall into.
Finally, the most important point. At its core, Paragons is as much a resource-management game as it is a battler. A 30-card deck runs out faster than you'd expect, and mana is finite. The key to winning is making every point of mana you spend translate into real value on the board, while ensuring that if the game drags on, you aren't the one who loses by running out of cards to draw. Manage that, and you'll win plenty of games. Good luck!
Keyword Glossary
GarrisonOnce on each of your turns, you may pay this card's cost to add a 'Garrison' counter to it. Every Garrison counter raises the card's attack power and health by its base stats. When damage to this card goes past its base health, remove one Garrison counter for each full increment of base health exceeded (for example, a 2/2 with two Garrison counters acts as a 6/6, but drops to 4/4 after taking 2 or 3 damage, or to 2/2 after taking 4 or 5, and so on).
HiddenOn your turn, you may pay this card's mana cost to place it into your 'Hidden Pile'. A card in your Hidden Pile may be revealed once the conditions printed on it are met, regardless of whose turn it is. Unless another card states otherwise (such as Eldritch Burrower), it counts as 'played' only when its owner reveals it this way.
ReachThis mercenary's attacks on other mercenaries cannot be Defended. On top of that, such an attack can reach past a Front Line mercenary on the enemy Combat Board to strike a Backline mercenary directly (though a melee unit still cannot attack over its own allied mercenaries).
AdjacentA space directly to the left or right of the mercenary in question.
BounceSend the target card back to its owner's hand.
SurroundingA space to the left, right, in front of, or behind the mercenary in question.
ExhaustThis mercenary cannot attack, defend, or use Voluntary Abilities until the start of your next turn. It is shown by turning the card 90 degrees.
RecoverThe mercenary becomes unexhausted. Every mercenary Recovers at the start of its controller's turn unless a spell or ability says otherwise (such as Pale Medusa).
RecruitTo take a mercenary card from the Buy Pool into your hand. Lesser Mercenaries cost 2 mana to Recruit, Greater Mercenaries cost 3.
First BloodWhen this mercenary attacks, its combat damage resolves before its opponent's.
Critical StrikeThis mercenary's attacks deal double damage (this does not apply while Defending).
BanishSend the targeted card back to its owner's Reserve Pile (as defined in 'Draft Phase Step 3').
FatedThis spell resolves the instant it is played. It cannot be countered, contradicted, or interfered with in any way before it resolves.
ConcealedThis mercenary cannot be targeted by enemy spells or Voluntary Abilities.
Glossary of Card Types
Paragon Class CardsCards that belong to a single Paragon class, as opposed to the neutral cards.
Neutral CardsCards available to any player, obtained during the Draft Phase or by Recruiting/purchasing from the Buy Pool.
Lesser MercenaryA mercenary costing 4 mana or less to play.
Greater MercenaryA mercenary costing 5-7 mana to play.
MeleeA mercenary combat type that can only attack from the Back Line when no allied mercenary is blocking it from the front.
RangedA mercenary combat type that can attack even with an allied mercenary in front of it.
CasterA special mercenary combat type. In combat it acts like a Ranged mercenary, but it also has the Voluntary Ability 'Exhaust this card on your turn to deal X damage to a mercenary, where X is this card's base attack power stat.' It cannot use this ability on a turn it attacks, nor attack on a turn it uses the Caster ability.
SpellA non-mercenary card that may be played whenever you have the mana for it, unless it has the Hidden keyword (in which case it may only be placed into the Hidden Pile on your turn).
ImbuementA spell attached to a mercenary that grants certain effects or new abilities. If that mercenary is destroyed, bounced, Banished, or otherwise removed from the Combat Board, the spell resolves and is Destroyed.
EnchantmentA spell attached directly to a Combat Board space that grants certain effects or new abilities to whatever mercenary occupies it. Enchantments are permanent and do not end when the occupying mercenary is Destroyed; they can only be removed by a spell effect or by a new Enchantment played onto the same space.